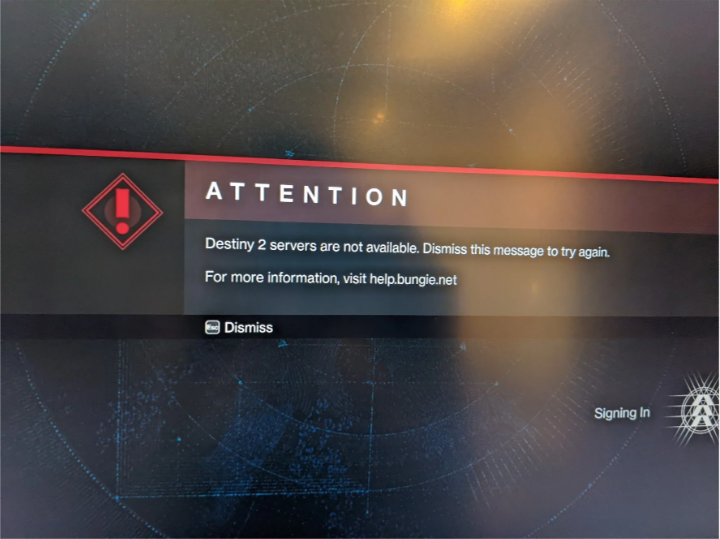
Destiny 2 is one of the most popular virtual games that users have been avidly looking forward to exploring. If you are one of those people who have been indulging in the game only to struggle with server problems, you aren’t the only person.
Several gamers have reported facing issues with the Destiny 2 servers, explaining that it crashes out of nowhere. If the same issues have been troubling you as well, we have sorted all the relevant information for you to check out.
This article will explore more about Destiny 2 servers not being available and how you can fix the issue.
Contents
Why is Destiny 2 Servers Not Available?
Before we take you through the ways you can fix the Destiny 2 servers, let us take a look at the potential causes.
One of the most common reasons is server congestion, wherein many players overwhelm the servers, leading to them crashing. Also, when many users are trying to log into the portal at the same time even that ends up overwhelming the server leading to problems.
Among all, two of the most common causes include:
- Incorrect network configuration
- Network outage
Either way, it is crucial that you address the potential issue first and then implement a relevant fix to overcome the problem.
How to Fix Destiny 2 Servers Not Available?
Once you have figured out a potential reason why the Destiny 2 servers are failing, you can go ahead and implement one of the relevant fixes from the options mentioned below:
1. Switch to a wired Ethernet connection
If this is your first time playing Destiny 2 and you are sitting there wondering, “Why is it crashing?” The answer is simple. Destiny 2 requires a very stable internet connection, so if you are relying on a wireless network set-up, that could be a reason why the servers aren’t responding.
In that case, the easiest workaround is to switch to a wired Ethernet connection. What this will do is provide you access to a faster Internet connectivity and the faster internet should be enough to fix the errors that you are most likely experiencing.
For this, connect the Ethernet cable to the router and the PC, and then relaunch your game and see if it fixes the issue.
2. Disable DHCP for your connection
Not everyone is technically sound about elements like DHCP when it comes to network connectivity. If that is the case with you, we’d recommend that you follow the steps as mentioned to disable DHCP in a matter of minutes.
- Start by opening your network and internet settings on your PC.
- Go to Network and Sharing and tap Open
- Click on Change adapter settings
- Right-click and select Properties
- Find Internet Protocol Version 4 (TCP/IPv4) and double-click on it
- This will open a pop-up. Click on Use the following IP address and Use the following DNS server addresses.
- Enter the IP address and DNS server address in the designated fields.
- Restart your PC.
Once done, you can launch Destiny 2 again and see if the error persists.
3. Use a VPN service
In many cases, if you live in a country where a lot of gamers are trying to access the game at the same time, that could be a reason why there is a delay and the servers aren’t working as they should.
What you can do to bypass that issue is by using a VPN service. However, there are certain criteria we’d recommend you follow.
Firstly, always use a renowned and reliable VPN service that’s paid. The free ones might compromise your data privacy. Also, once you are done playing the game, turn off the VPN since it might hinder the functions of the other apps.
4. Update the network driver
Unless you are well versed in technical and computing factors, not knowing about the prospect of updating a network driver is normal. You aren’t the only person with a lack of knowledge about this.
However, keeping your network drivers updated ensures that you never have to worry about network issues or slowdowns in the future.
Here’s what you need to do:
- Right-click on the Start menu on your PC.
- Tap on Device Manager.
- Go to Network adapters.
- Double-click on it to expand the options.
- Right-click on the network driver you are using.
- Select Update driver from the options available.
- Tap on “Search automatically for drivers” and let Windows do the rest.
- Restart your PC.
Following that, you can go ahead and relaunch Destiny 2 and see if you face similar server issues while trying to play the game.
5. Reset your network settings
The last fix for the server delays and malfunction of Destiny 2 is resetting the network settings altogether. This is a 100% safe way to run a soft reboot so the network issues are fixed and you don’t have to deal with the server problems in the future.
Here’s what you need to do:
- Press Win + R to open the Run command.
- Type cmd in the field
- Press ctrl + shift + enter to run the command in Administrator mode
- In the prompt, type netshwinsock reset
- Press Enter
- Restart your PC.
Once the network reset is done, launch the game again and try and play it as you normally would.
Conclusion
Destiny 2 is undoubtedly one of the most awaited games. However, most players have been complaining about server delays lags, and even crashes in the middle of the game. If you have been experiencing similar issues, we hope this article gives you a good understanding of what’s wrong and the troubleshooting fixes too. Implement these fixes one by one to see which one works.


 Online casino
