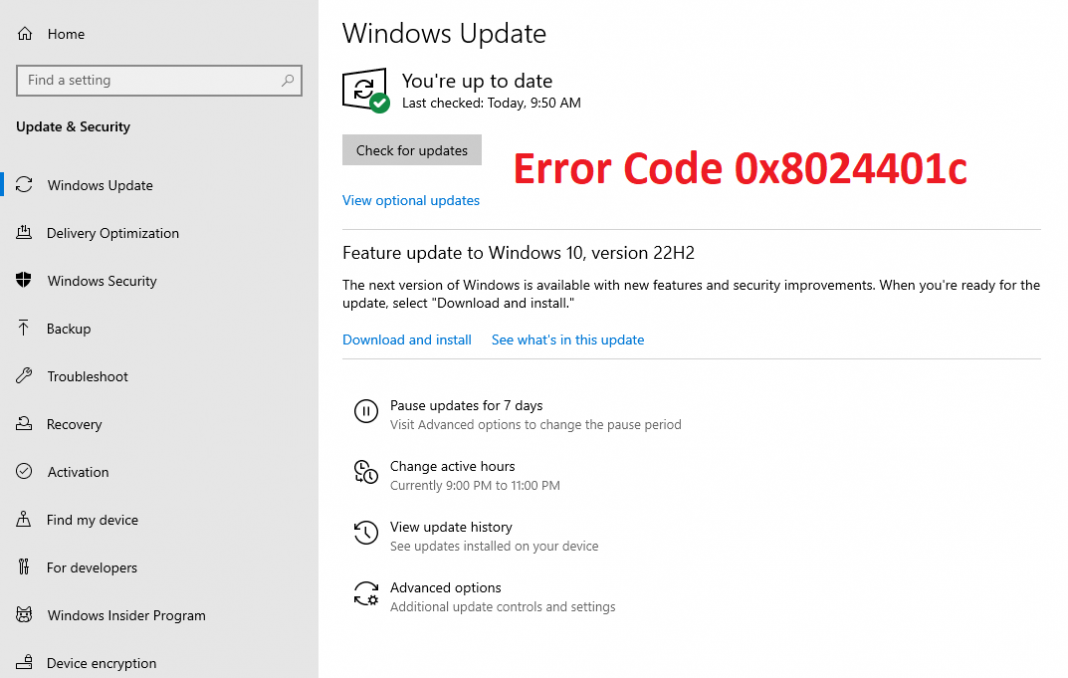
Have you been seeing that dreaded error code 0x8024401c pop up on your Windows Update page? Trust me, I’ve been there. It’s a frustrating experience, but don’t stress too much. This error usually happens when there’s some corruption in one of the Windows Update registry keys.
But don’t worry, this issue can be easily resolved by running a simple registry script. Yes, I know it might sound daunting to mess with the inner workings of your computer, but trust me, this script will have Windows Update running smoothly again in no time.
So, why exactly does error 0x8024401c occur in the first place? Well, this error tends to happen when you’re having trouble downloading or installing updates on your computer. The most common culprits are poor internet connections or server timeouts during the request. It could also be due to outdated device drivers on your computer.
But don’t let this error get the best of you! With these simple fixes, you can be back on track and enjoy the latest updates on your computer.
Contents
Method 1: Check your Network Settings
I know how frustrating it can be, but fear not, as there are a few simple steps you can take to resolve this issue.
One of the most common causes of this error is a network issue, so let’s start by checking your network settings. Here are two methods you can try:
Change Your Network Connection
Sometimes, simply switching up your network connection can do the trick. If you’re currently using Wi-Fi, try disconnecting it and switch to a wired or Ethernet connection instead. On the other hand, if you’re using a wired connection, try switching to Wi-Fi and see if that resolves the issue.
Uncheck IPv6
Another way to resolve this error is to uncheck IPv6 and have your computer work with the IPv4 network. Here’s how to do it:
- Click the Internet icon in the bottom right corner and choose Network & Internet Settings.
- In the left pane, make sure you have Status selected and click on Network and Sharing Center in the right pane.
- Click Change adapter settings.
- Right-click the network you’re currently using and click Properties.
- In the popup window, click the Networking tab.
- Uncheck Internet Protocol version 6 (TCP/IPv6) and click OK to save the changes you’ve made.
With these two simple steps, you should be able to resolve error 0x8024401c and get your Windows Update back on track.
Method 2: Run SFC Scan
If you’re still encountering the error code 0x8024401c after trying the previous methods, it may be due to corrupt system files on your computer. Fortunately, there’s a tool that can help you identify and fix these issues – the System File Checker (SFC). This tool can automatically detect and repair any corrupted or missing system files that may be causing the problem. Here’s how you can run an SFC scan:
- Start by opening the search function (press Win + S).
- Type in “cmd” and right-click on the Command Prompt option that appears.
- Select “Run as administrator.”
- In the command prompt window, type “sfc /scannow” and hit Enter.
- Wait for the scan to complete (this may take a while) and make sure the verification reaches 100%.
- Finally, restart your computer and try updating Windows again.
By running an SFC scan, you can ensure that all your system files are in working order and free of any corruption or inconsistencies. This should help resolve the error 0x8024401c and get your Windows updates running smoothly again.
Method 3: Modify the Registry Editor
When you encounter the error code 0x8024401c on your Windows Update page, you may start feeling frustrated, but don’t worry, you can still fix this issue. One of the solutions is to modify the Registry Editor. This tool can help you resolve the problem by making some changes in the registry keys. Here’s how you can do it:
Step 1: Open the Registry Editor
- Press the Windows key + R on your keyboard to open the Run window.
- In the Run window, type “regedit” and click OK. This will take you to the Registry Editor.
Step 2: Navigate to the relevant key
- In the Registry Editor, copy and paste the following path in the address bar: HKEY_LOCAL_MACHINE\SOFTWARE\Policies\Microsoft\Windows\WindowsUpdate\AU.
Step 3: Modify the UseWUServer value
- In the right pane, double-click on “UseWUServer.”
- Change the value data to “0” and then click OK to save the changes you’ve made.
Step 4: Restart your computer
- Close the Registry Editor and restart your computer.
- Once your computer has restarted, go back to the Windows Update page and check for updates. The error code 0x8024401c should have been removed by now.
With these simple steps, you can resolve the Windows update error 0x8024401c and get your computer updated smoothly.
Method 4: Update Drivers to Fix Error 0x8024401c
Updating drivers on your computer is an effective solution to resolve the error 0x8024401c when it appears during a Windows update. This can be done in two ways:
Manual Driver Update
If you’re tech-savvy and confident in your abilities, updating drivers manually might be the best choice for you. To do this, simply go to the manufacturer’s website and search for the latest version of the drivers that are compatible with your computer.
Automatic Driver Update If you’re not confident in updating drivers manually or simply don’t have the time to do so, you can choose to use a tool like Driver Easy. With just a few clicks, this tool will automatically detect any missing or outdated drivers on your computer and update them to the latest version. Not only is this process more efficient, but it also ensures that you are installing the correct driver for your device.


 Online casino
