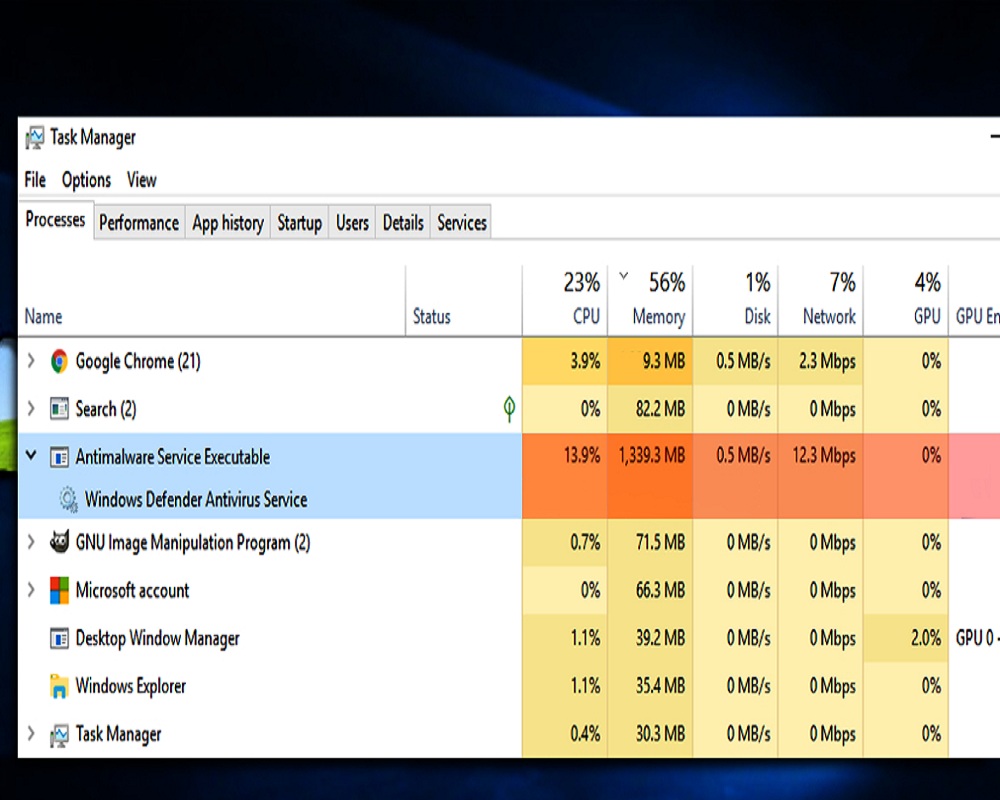
Windows is, no doubt, the most popular and the simplest OS for the computer users and that is why people all around the world access it various functions offered by the OS on various devices. With the latest OS, Windows OS 10, Microsoft has brought a very comprehensive experience to the users. But still, many users also face several problems while using the various programs on their PC. If you are a PC geek and using Windows 10, then you might also have encountered antimalware service pointedly affect the performance of your Windows system. Since many users are finding ways and methods to locate and disable the Antimalware Service Executable, we have come up with a summarized guide that will help you in solving your problem. Learn how to solve high CPU consumption by Antimalware Service Executable by deactivating the Antimalware Service Executable in Windows 10.
You have to keep in mind that this antivirus tool is responsible for keeping our system safe against any kind of malware attack. So, it is a very normal and necessary process that runs in the background to neutralized the threats. But sometimes, it may use high CPU which could affect the overall performance of your PC. You can easily disable the antimalware service executable and you can fix the problem easily.
Contents
Method 1: How to Disable Antimalware Service Executable in Windows 10 – Via Registry Editor
- On your keyboard hit the “Windows + R” keys and you will see a new window appear. In this, you must write the word “Regedit” and then click on the “OK”
- Now locate the folder named “HKEY_LOCAL_MACHINE” and open it.
- Right click on the <Windows Defender> folder, select the <New> option and finally click on <DWORD>
- To finish you must select the <DWORD> folder that we just created, then select the <DisableAntiSpyware> option and reset the value to 1.
If you are not comfortable using the registry editor, then you can opt for the command prompt. If you are not familiar with this tool either, you don’t need any technical use because you can simply follow the instructions given below.
- Now you have to press the “Windows + X”keys and in this way, the Wind + X menu will open.
- Then you must select the option “Command Prompt” or “PowerShell” that are on this menu that we just opened.
- Then, when the command prompt opens, you must type “REG ADD”to run the following command “hklmsoftwarepoliciesmicrosoftwindows defender” / v DisableAntiSpyware / t REG_DWORD / d 1 / f “
- Windows Defender willthen be disabled immediately.
- In the case that you have advanced knowledge in the field of computing, we recommend that you try this method since it is much faster than the previous one.
Method 2: (Solved) How to Disable Antimalware Service Executable in Windows 10 – Via Group Policy Editor
- On your keyboard hit the “Windows + R” keys at the same time. Then type “gpedit.msc” and hit enter.
- This is how you canstart the group policy editor. Another thing to keep in mind is that this option is not available in the startup versions of Windows 10, but thanks to a little trick that we will teach you later, you will see that it is possible to do so.
- Now, in the panel that is on the left side of the screen, look for “Computer Configuration”,then “Administrative Templates”, “Windows Components”, “Windows Defender Antivirus, and finally” Real-time protection “.
- Then you have to click on the option that says “Deactivate real-time protection” which is located in the right part of the window.
- Next, you must select the “Activated” option and then click on the “Apply”option and finally select the “OK” option for the changes to be saved successfully.
- Upon completion of this process, Windows Defender and Antimalware Service Executable willbe
- On the other hand, we must emphasize that with this method the antivirus protection for the computer will be deactivated, which will expose our personal information. For this reason, we recommend that you use this method as something temporary and not permanent.
Method 3: How to Disable Antimalware Service Executable in Windows 10 – By Disabling Windows Defender
- What you have to is open the setting by pressing “Windows key + I.”
- Then you have to go to the ” Update and security” tab.
- Now, in the menu on the left side of the screen, click on the option <Windows Defender.>
- To continue select “Open Windows Defender Security Center”, which is located in the right part of the window.
- Then you will see that a new window appears in which you must select the option “Protection against viruses and threats”
- To continue, click on the option “Protection settings against viruses and threats”
- Finally, deactivatethe “Real-time protection” and in this way, Windows Defender will be disabled, therefore we will not have to worry about the Antimalware Service Executable.
Conclusion:
This is how simply you will be able to solve the problems caused by Antimalware Service Executable in your windows program. Since the Windows defender is the antivirus tool by Microsoft, it is not recommended to disable it. If you are already using any other antimalware program on your system then, you can disable Windows Defender to solve the high CPU usage caused by antimalware service executable.


 Online casino
